I recently decided to try adding some automation to my home. I foresee a time in my future where I can just walk into my house, and it greets me and turns on my lights for me, it can watch me to see when I go to bed and turn everything off, etc. How cool would that be! With today's technology, I don't see why this can't be done. So with that said, here begins the long and arduous road to complete home automation.
The first step in the process is to pick a suitable control hub. This will be the "brain" of the house, which receives events (eg. door open/close, button press), and sends commands to devices (eg. turn on light). I've heard of a couple good ones, like Z-Wave and ZigBee, as well as ones that operate on WiFi, but in the end I decided to use openHAB, which is an open-source home control system that allows all sorts of integrations, you can use Z-Wave, ZigBee, WiFi, Apple Home, Google Home, etc all at once. It's also fully open-source, which means if there's anything it can't do, we can just extend it ourselves! (even if that's a pain sometimes)
Installing openHAB
openHAB was actually much easier to set up than I originally thought. At first I was going to run it on a spare Raspberry Pi that I have here, but considering I have a Windows desktop which is always on, I decided to use that instead. I was happy to discover a Chocolatey install was available, so that is what I did.
Chocolatey is a really sweet package manager for Windows, pretty much like apt for linux or npm for Node. The first step was to install that, which I did.
Then, to install openHAB, you can just run in an admin command prompt choco install openhab. Nice and simple.
By default, choco installs openHAB to C:/ProgramData/chocolatey/lib/openhab/tools, so open up that folder. Inside there is a start.bat that we can double-click to launch. And it's running!
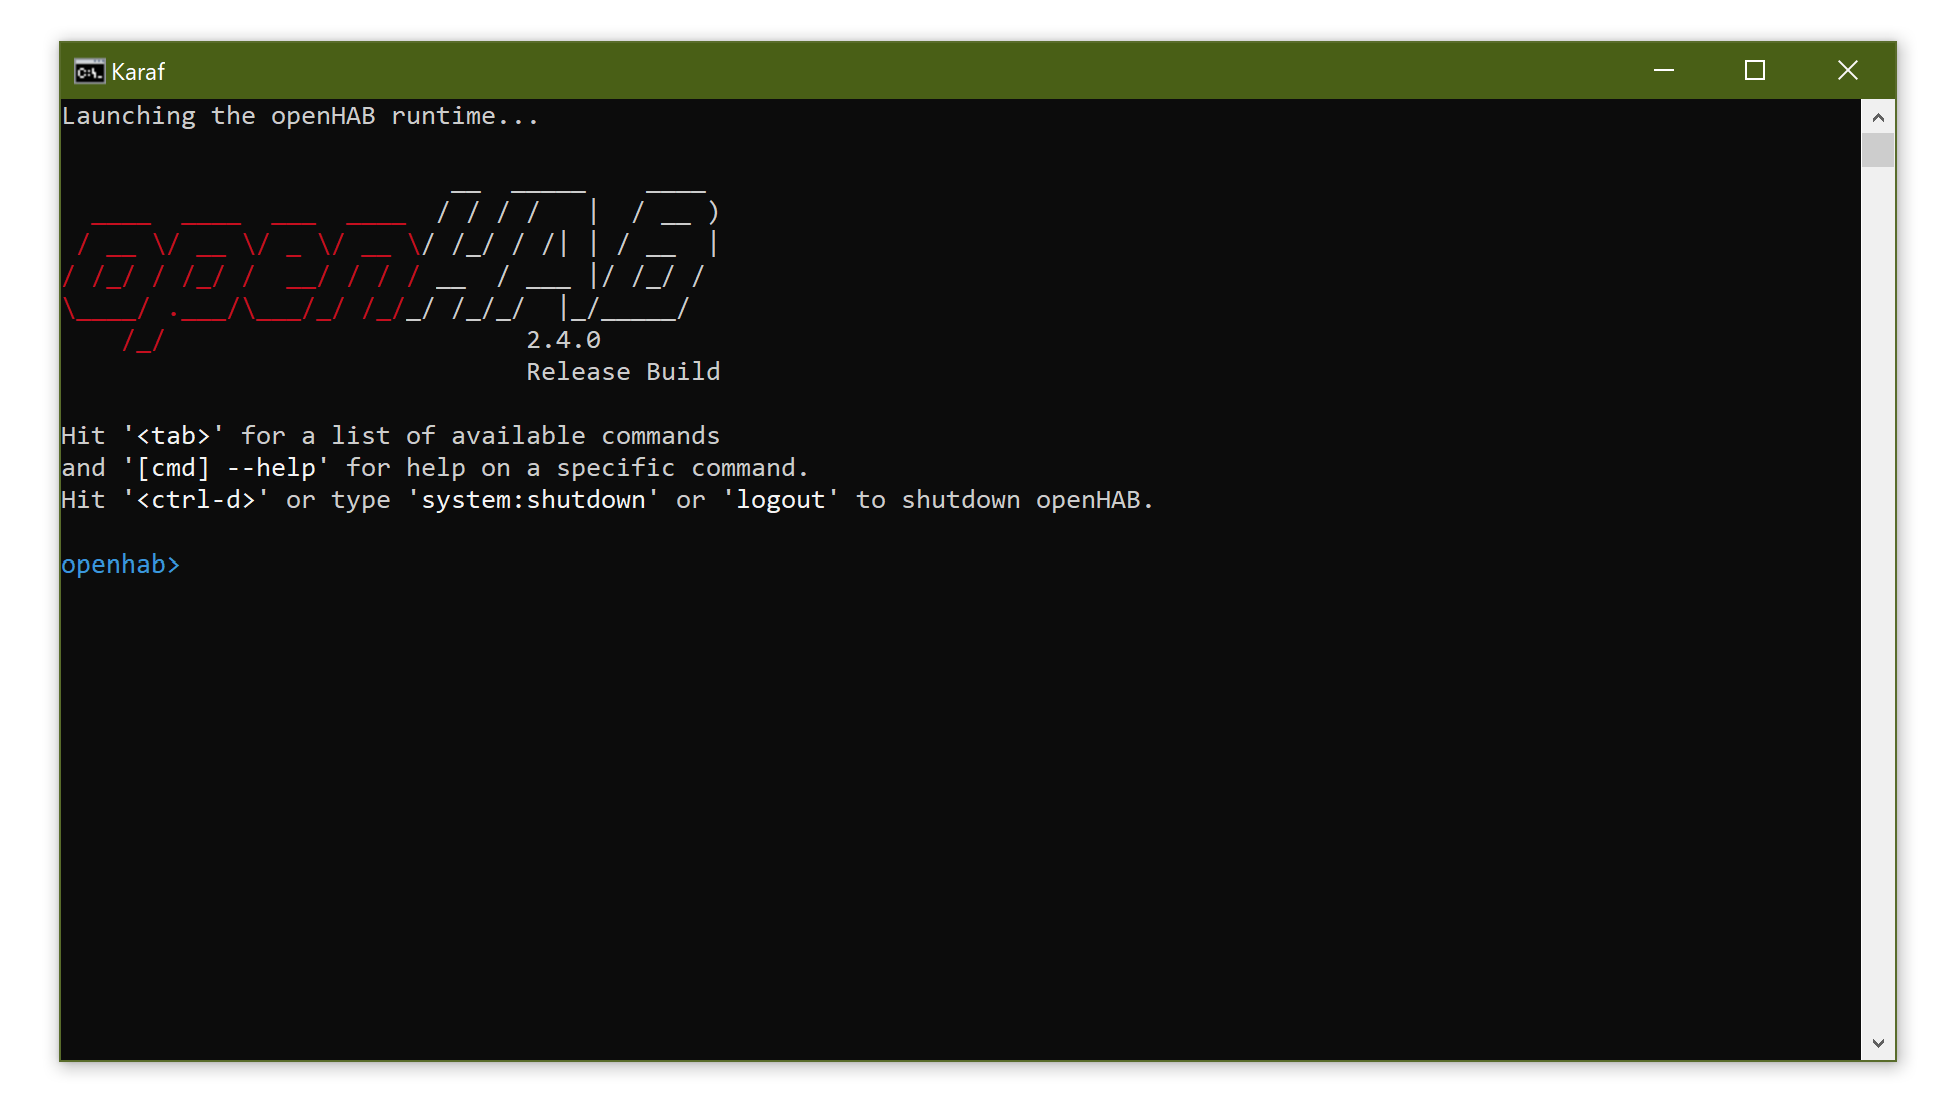
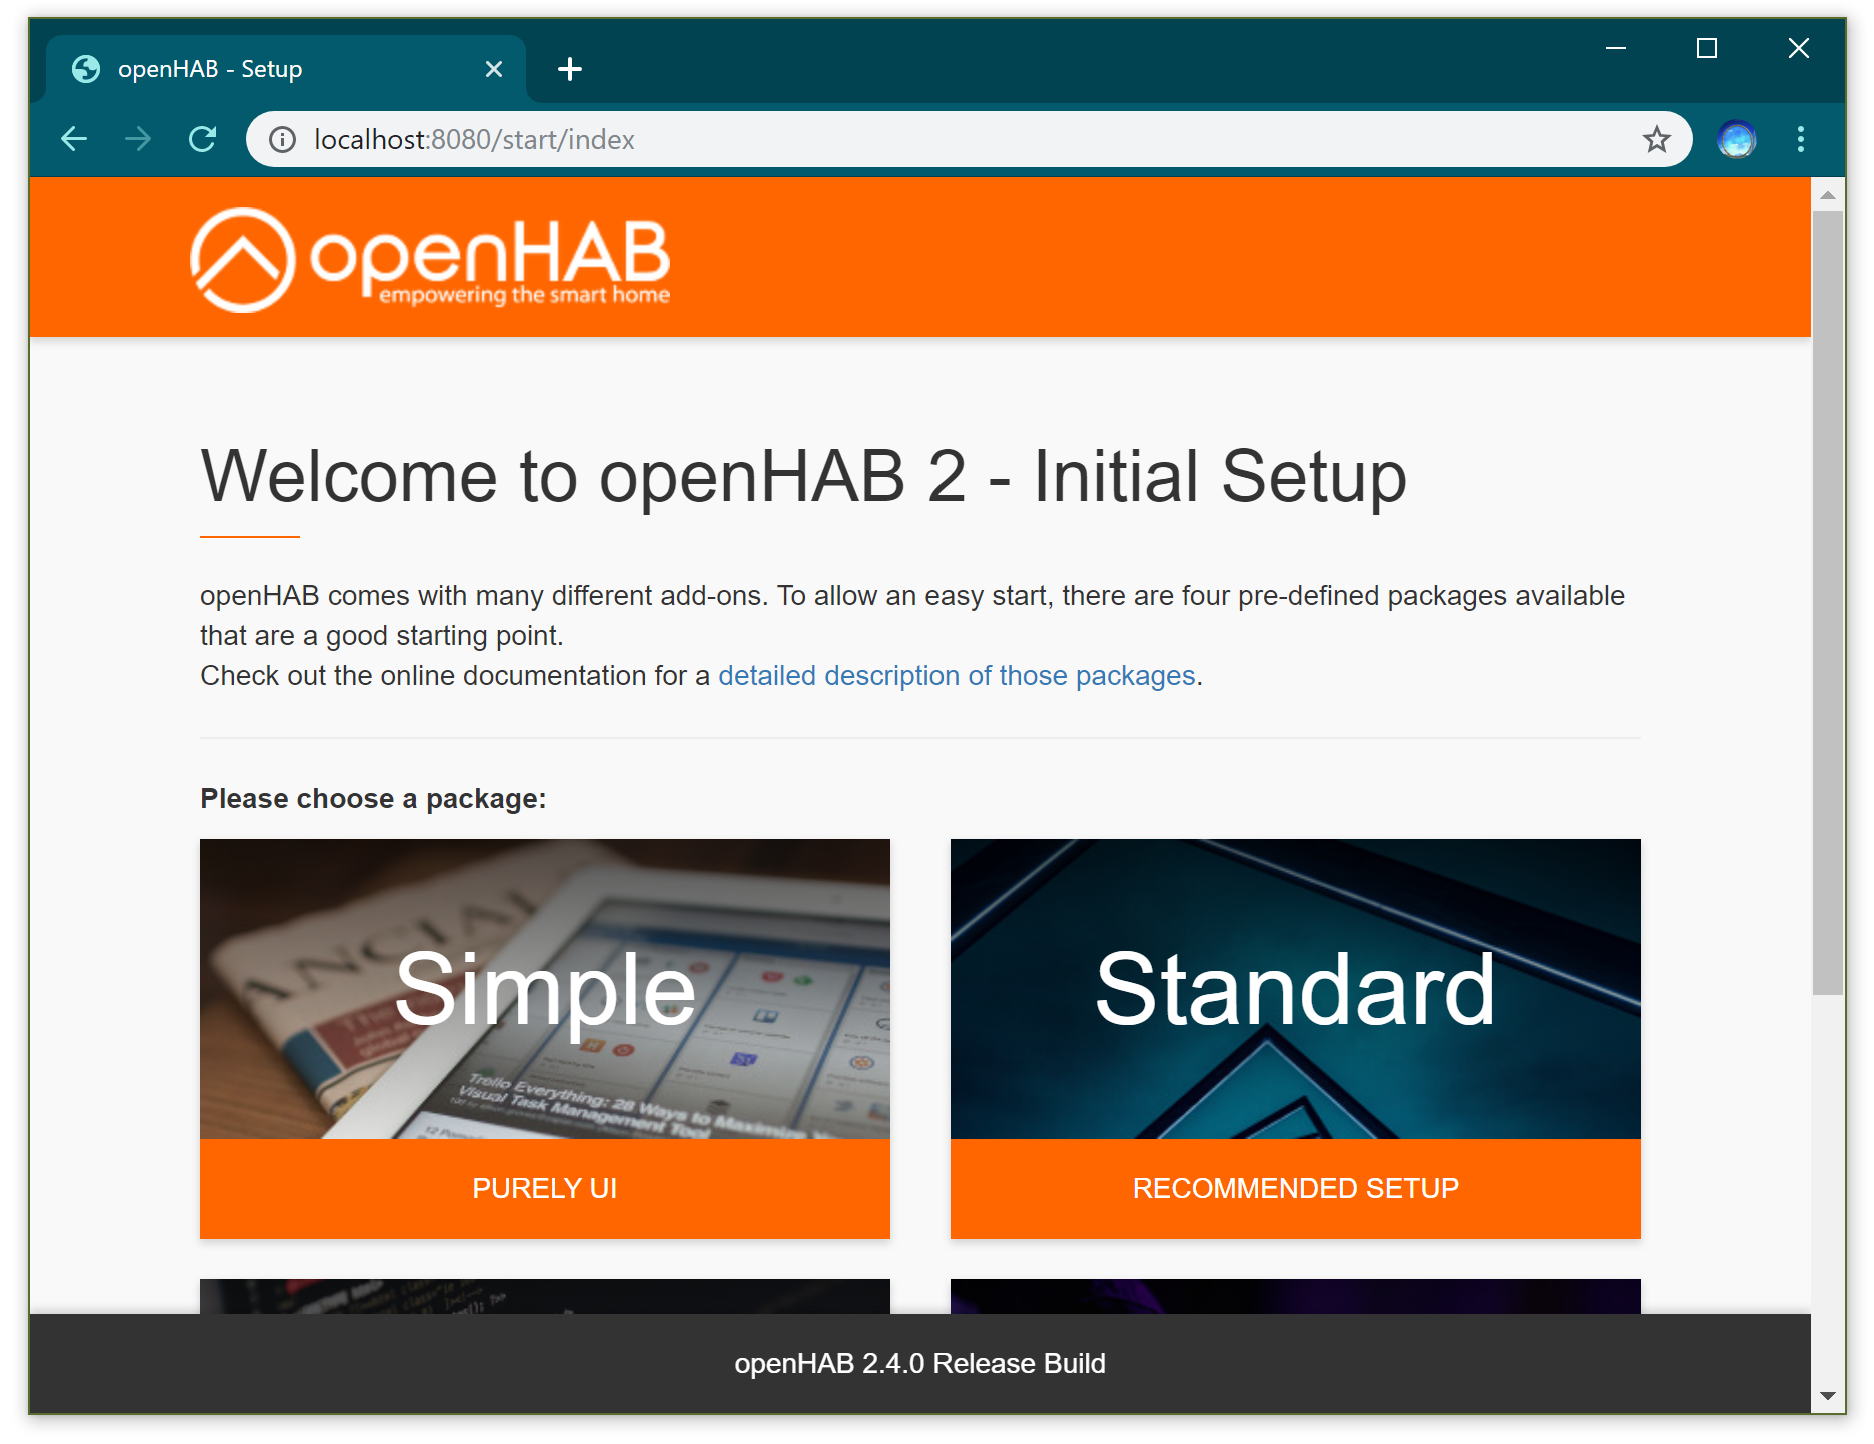
While this console is open, you can view the openHAB interface by pointing your browser to http://localhost:8080. The first page you see is the openHAB setup guide. I chose the "standard" setup.
And that's it! openHAB is installed. However, in order for this to be used as my home automation hub, I need to make sure it's always running, even if my computer restarts for updates etc. So the next step will be to get openHAB running as a system service. But that's a task for another day 🙂